Plan ahead: Calculate the number of boards needed for the room’s width. If the final row is less than 30 mm, adjust the first row accordingly.
Mix boards for a natural look: Open multiple packs and mix boards to achieve a balanced color variation. Inspect for any defects before installation.
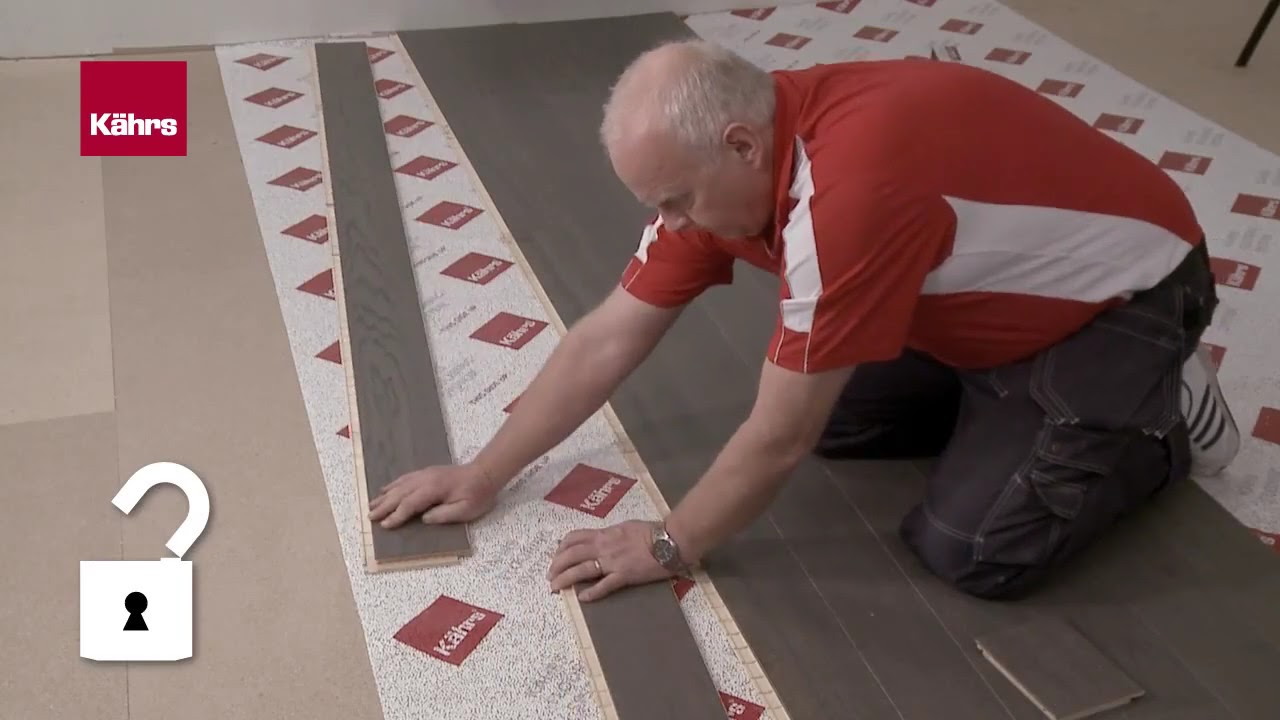
Positioning matters: Lay boards lengthways in the room for the best visual effect.
Allow for expansion: Ensure there’s adequate space between the floor and walls for natural movement.
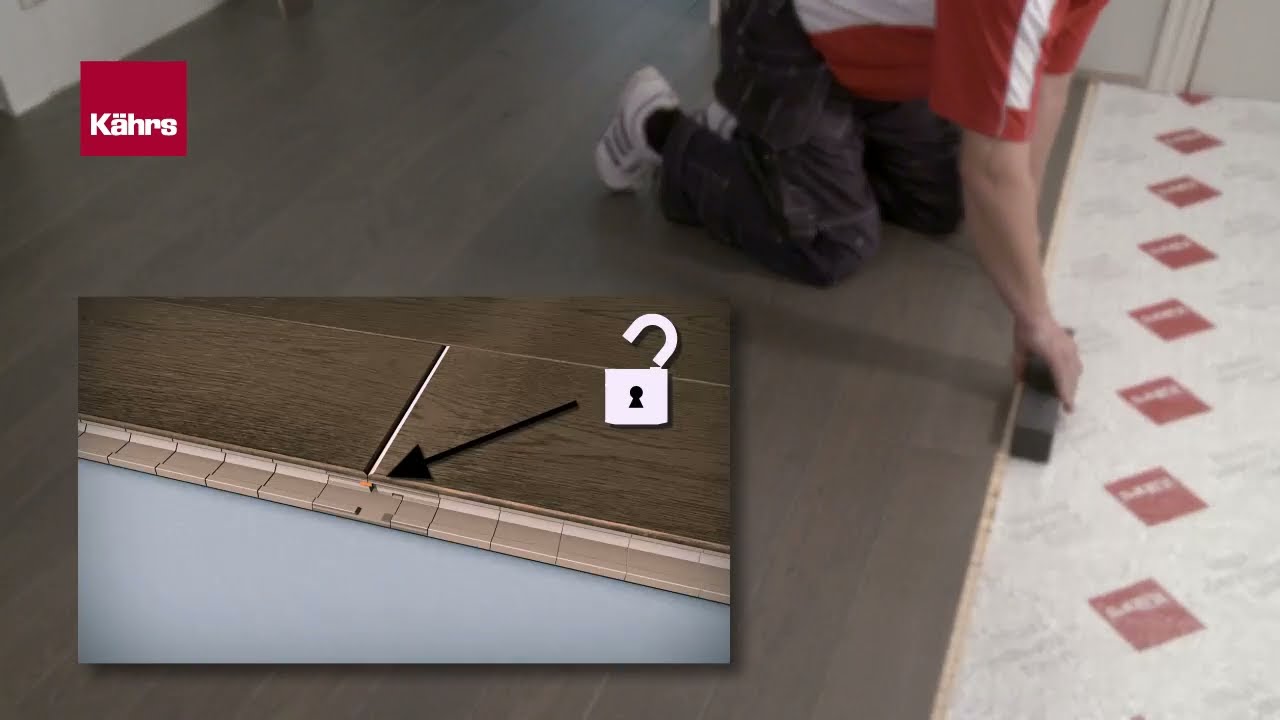
Correct orientation: The grooved side of each board should face toward the room.
Angle for a secure fit: Install boards at a 20-30° angle for proper locking.
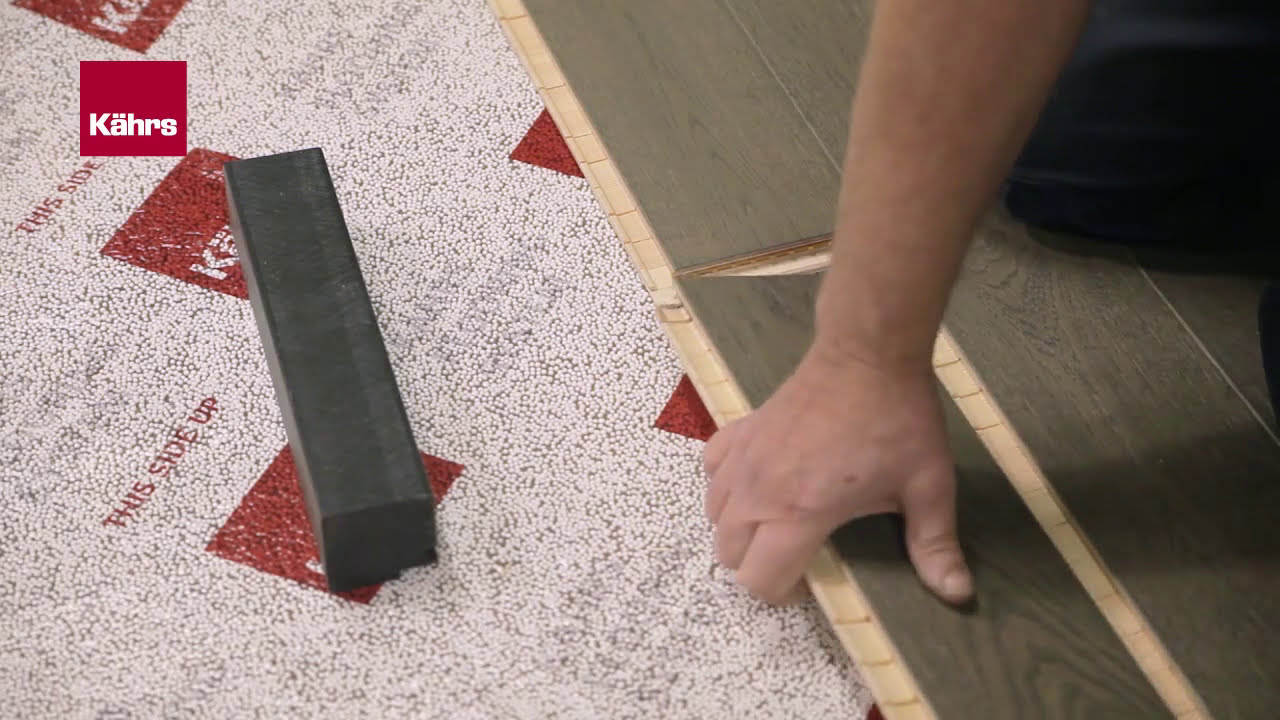
Lock the short joints: Use a Kährs hand block to ensure a tight fit.
Stagger end joints: Maintain a 500 mm displacement of end joints between rows for stability.
Trim smartly: Use the cut-off piece from the final board to start the next row, minimizing waste.
:quality(70))
Installing a wood floor from Kährs is efficient and hassle-free, thanks to our precision-engineered Woodloc® locking joint system. This innovative technology seamlessly locks boards together without the need for glue, ensuring a gap-free, stable surface that enhances both durability and performance.
To ensure a smooth installation, we recommend reviewing our detailed installation guide and watching our step-by-step instruction video. Whether you're working on a large-scale commercial project or a boutique space, our system is designed to save time while delivering a flawless result.
Prepare, install, and enjoy a perfectly fitted Kährs floor—built to last.
Maintaining the right indoor climate is essential for the longevity and performance of your Kährs wood floor. Keep the relative humidity between 30-60% before, during, and after installation to prevent expansion or contraction of the wood.
Ensure both the room and flooring materials are acclimatized by keeping the temperature between 15-23°C. Wood packs should be stored in this stable environment for at least 24 hours prior to installation for optimal results.
A properly prepared subfloor is key to a successful wood floor installation. Ensure the surface is dry, level, clean, and structurally sound before laying your Kährs floor. Remove any existing carpeting and debris to create a stable foundation.
Depending on the subfloor type, a moisture barrier may be required to protect against excess humidity and ensure long-term performance. Always check moisture levels and follow our installation guidelines for the best results.
Read more about preparing subfloor and underfloor heating. Take a look in our guide.
:quality(70))
:quality(70))
Even experienced installers can benefit from a few key tips to ensure a seamless Kährs hardwood floor installation:
By following these steps, you’ll achieve a flawless, long-lasting wood floor with Kährs.