Plan ahead: Measure carefully and calculate the number of boards you’ll need for the room’s width. If your last row would be less than 30 mm, adjust the first row for a perfect fit.
Mix for a natural look: Open several packs and blend boards to create a beautifully balanced color variation. Be sure to check for defects before you start laying the floor.
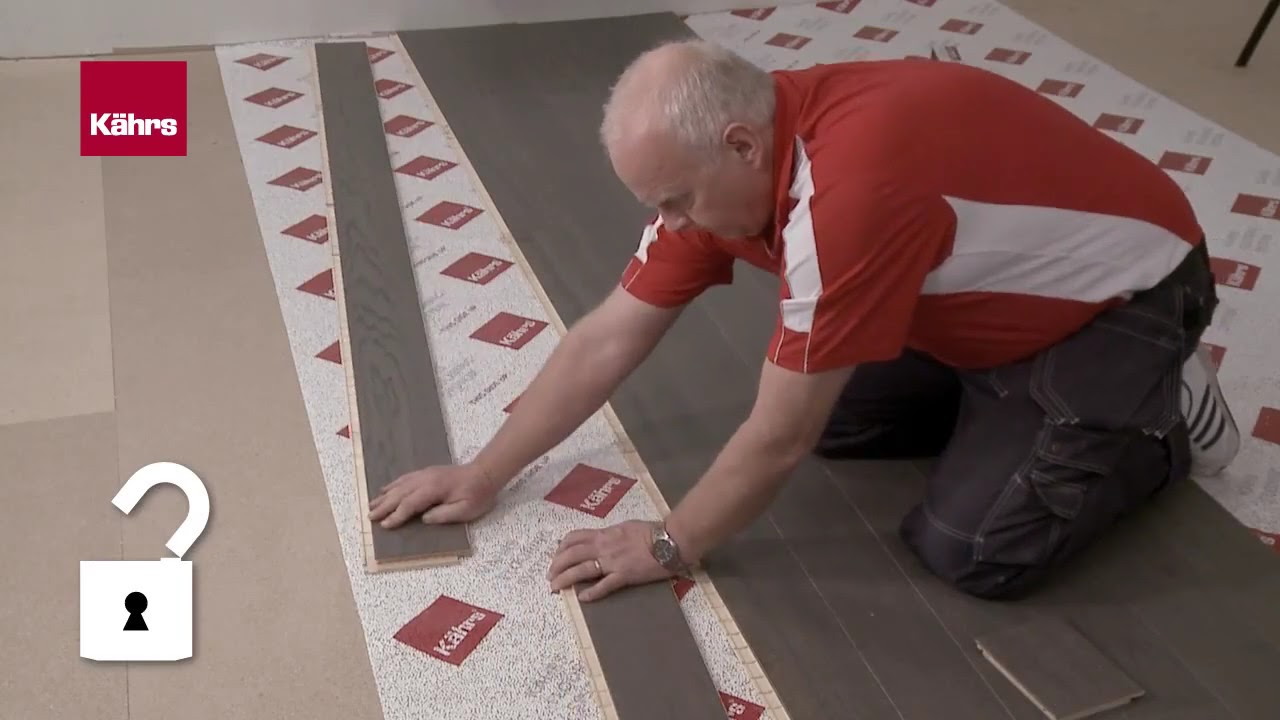
Lay it right: Position boards lengthways in the room for a more spacious and stylish visual.
Room to breathe: Always leave enough space between the floor and the walls to allow for natural expansion and movement.
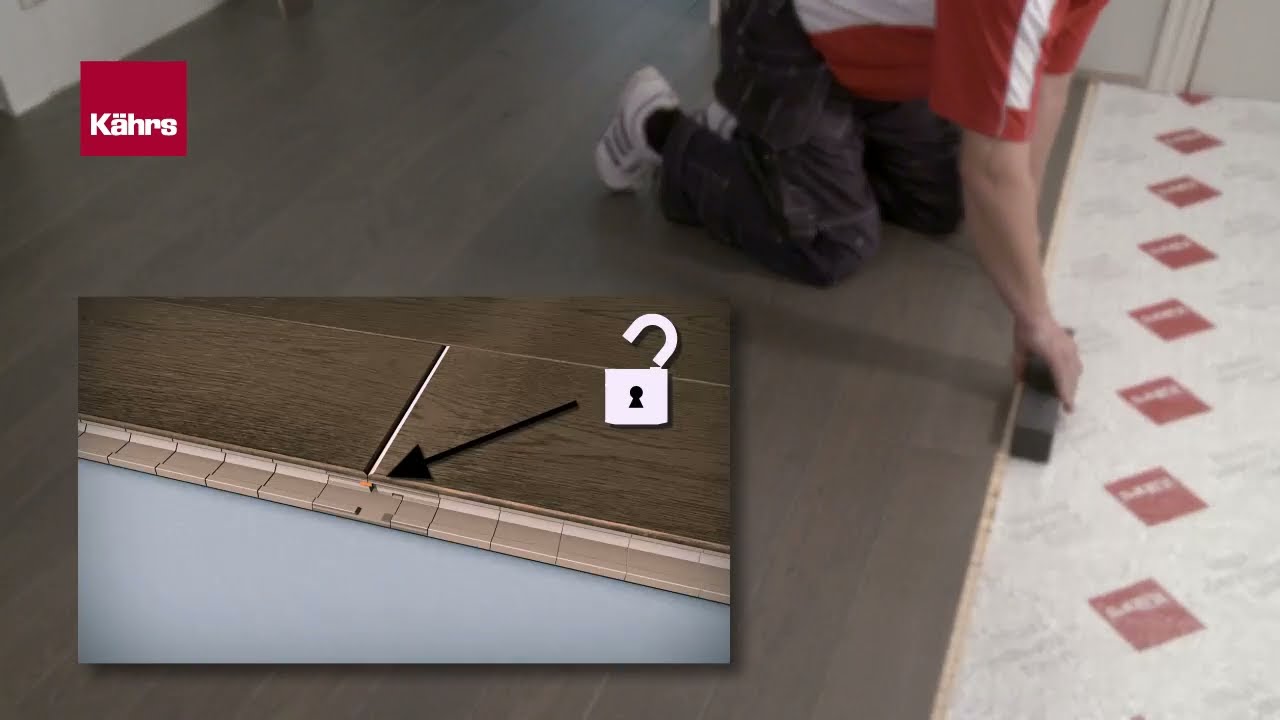
Correct orientation: The groove side of each board should face into the room for the perfect fit.
Perfect angle: Install boards at a 20-30° angle to lock them securely in place.
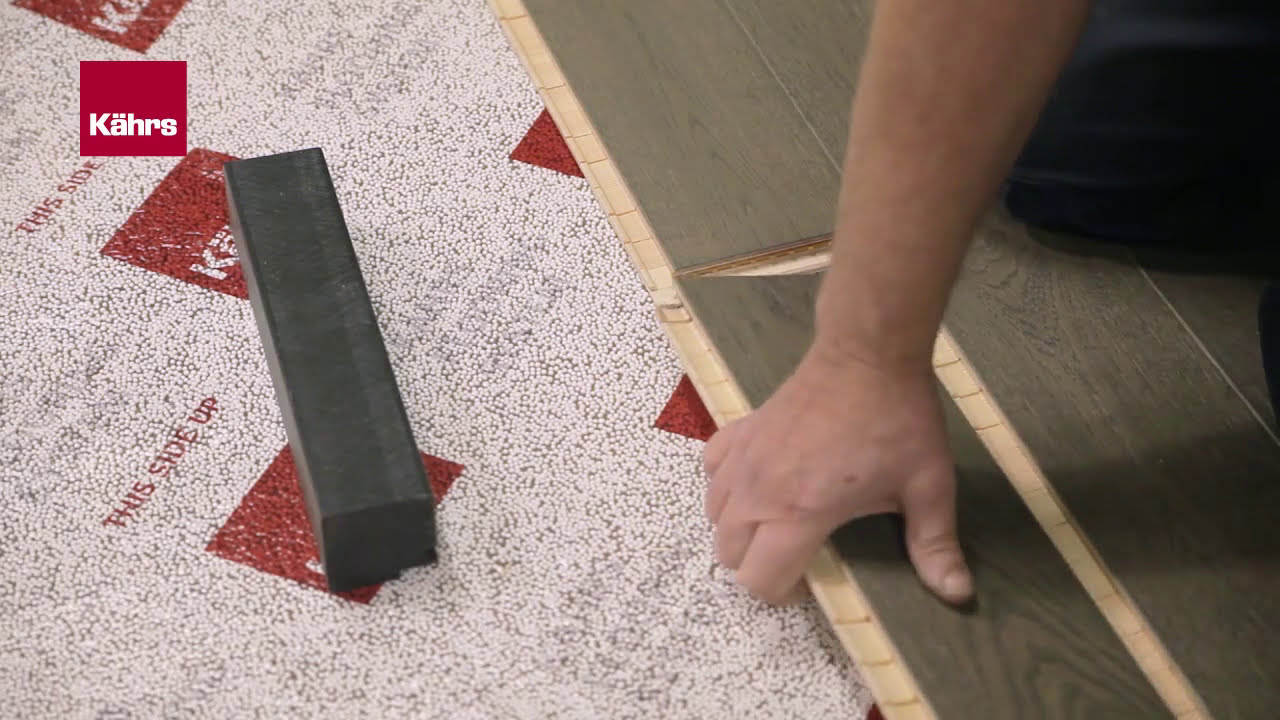
Tight joints: Use a Kährs hand block to lock the short joints snugly.
End joint offset: Keep a 500 mm stagger in end joints between rows for extra stability.
Smart cuts: Start each new row with the leftover piece from the previous row to minimize waste and create a seamless flow.
:quality(70))
Installing a wood floor from Kährs is efficient and hassle-free, thanks to our precision-engineered Woodloc® locking joint system. This innovative technology seamlessly locks boards together without the need for glue, ensuring a gap-free, stable surface that enhances both durability and performance.
To ensure a smooth installation, we recommend reviewing our detailed installation guide and watching our step-by-step instruction video. Whether you're working on a large-scale commercial project or a boutique space, our system is designed to save time while delivering a flawless result.
Prepare, install, and enjoy a perfectly fitted Kährs floor—built to last.
Creating the perfect environment is key to enjoying your Kährs wood floor for years to come. Keep the relative humidity between 30-60%, before, during, and after installation, to prevent the wood from expanding or contracting.
Let your floor settle in naturally by keeping the room temperature steady at 15-23°C and storing your wood packs in this same cozy environment for at least 24 hours before installation. It’s a simple step that makes a big difference, ensuring your floor performs beautifully from day one.
A solid start makes all the difference when installing your Kährs wood floor. Start with a dry, level, and clean subfloor to create a foundation that lasts. Remove any old carpeting, debris, or dust for a pristine surface that sets the stage for a flawless installation.
Depending on your subfloor type, a moisture barrier might be essential to protect your new floor from humidity and ensure its beauty endures. Always check the moisture levels and follow our step-by-step installation guide to guarantee your floor stays as stunning as the day it was installed.
Want to learn more about how to prepare your subfloor and work with underfloor heating? Dive into our detailed guide—it’s packed with tips to help you create a foundation that ensures your Kährs wood floor stays beautiful and performs flawlessly.
:quality(70))
:quality(70))
Even seasoned DIY pros can benefit from a few smart tips to ensure your Kährs hardwood floor installs seamlessly:
With these steps, you’ll enjoy a flawless, long-lasting wood floor that’s as beautiful as it is functional.